Step-by-Step Installation Process
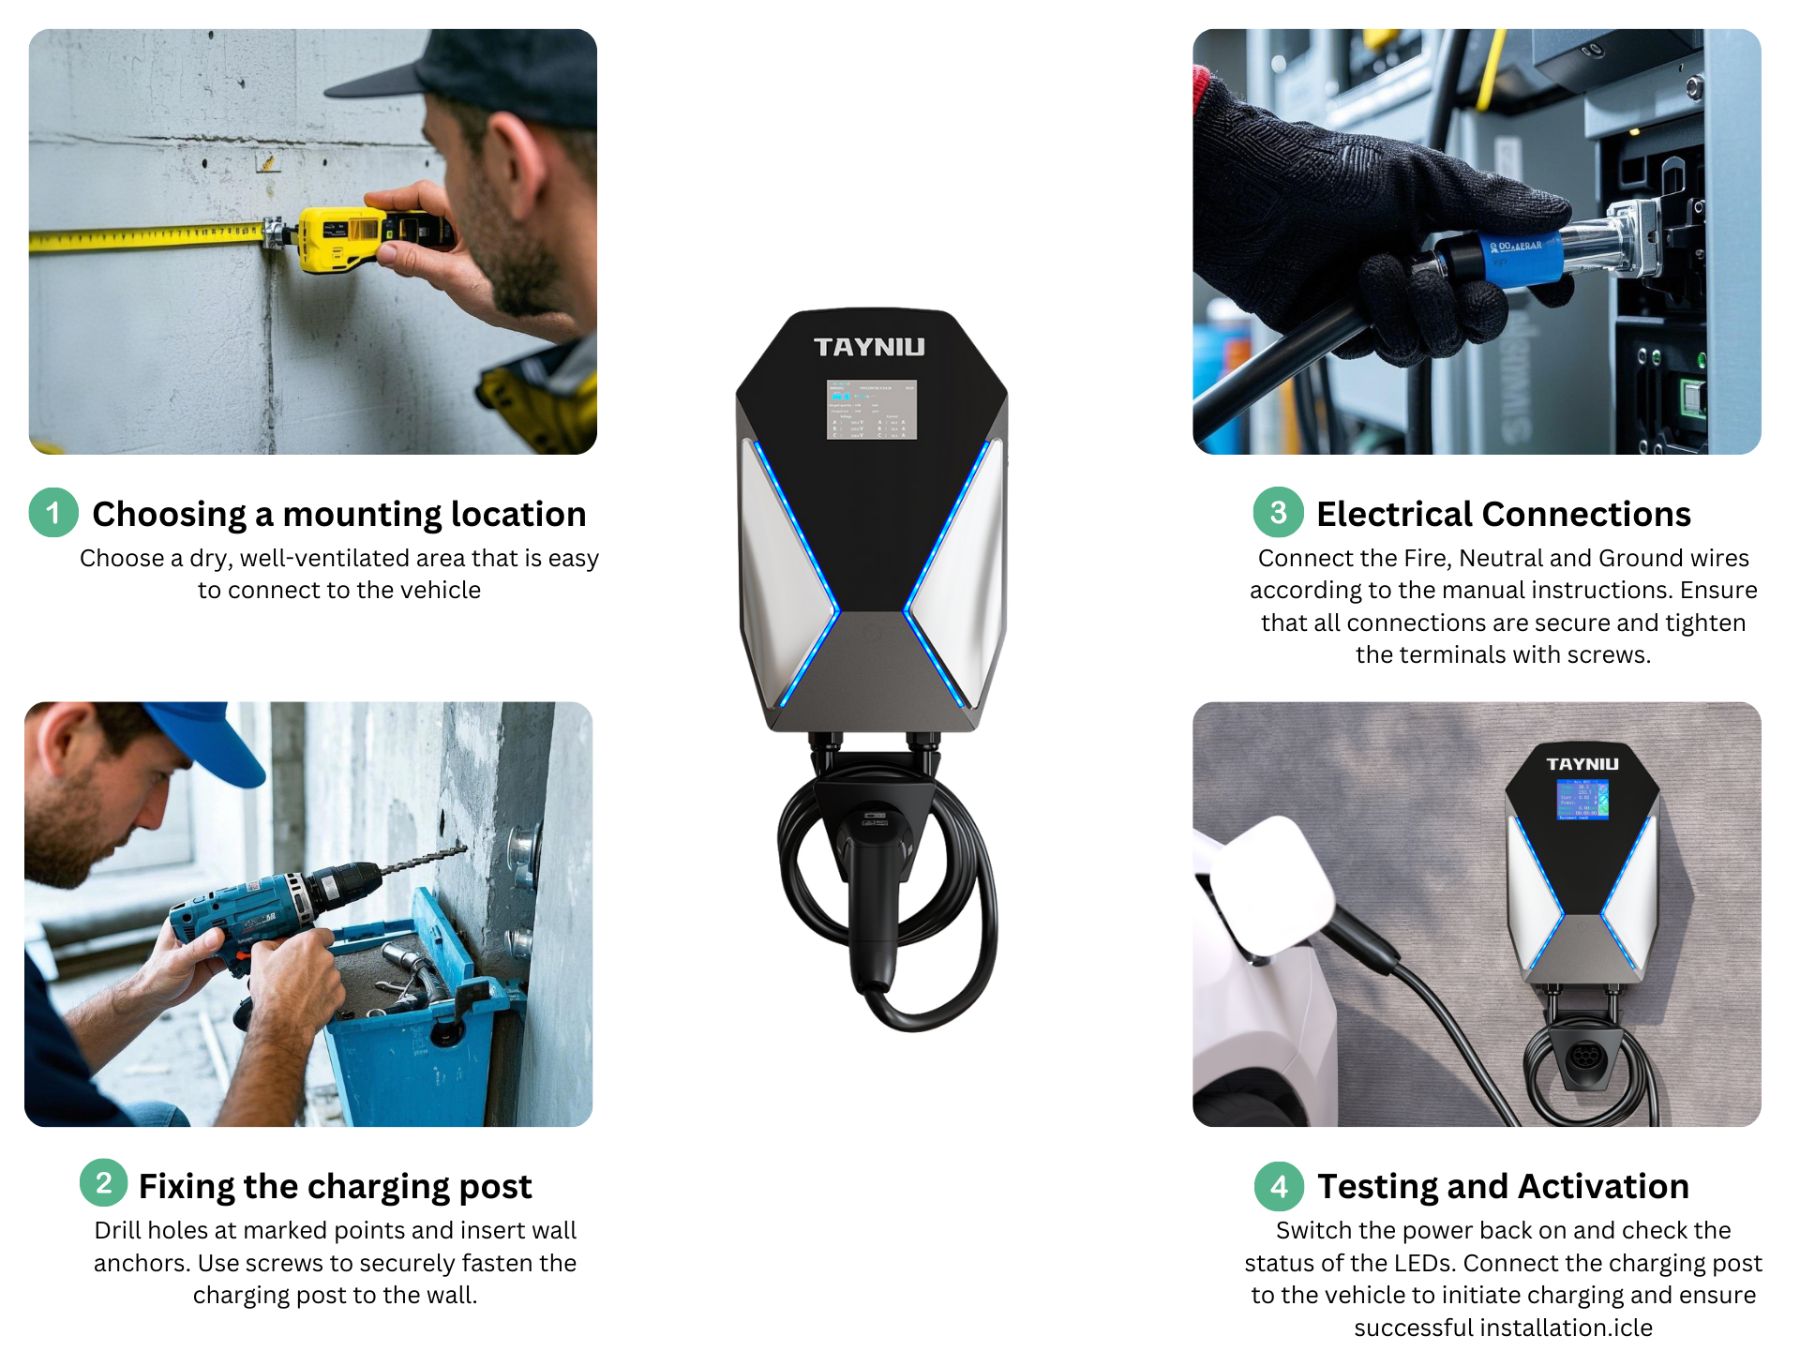
Step 1: Choosing the Installation Location
- Select a dry, ventilated area with easy access to your vehicle.
- The charger should be at least 1 meter off the ground.
- Avoid direct sunlight and extreme weather exposure.
Step 2: Mounting the SpeedyPro Charger
- Mark the Drill Points using a level and pencil.
- Drill the Holes and insert wall anchors (if needed).
- Secure the Charger with the provided screws.
Step 3: Electrical Connections
Hardwired Setup (Recommended for stability and compliance):
- Connect the live, neutral, and ground wires according to the manual.
- Secure the connections using wire nuts or terminal blocks.
Step 4: Testing the Installation
- Restore Power and check the LED indicators.
- Test Charging with your EV to ensure proper operation.
- Monitor for any errors (refer to the troubleshooting section below if needed).
FAQs & Troubleshooting
Q1: Do I Need a Professional Electrician?
A: If installing a hardwired charger, a licensed electrician is recommended.
Q2: What is the Installation Time?
- DIY Installation: ~1 hour
- Professional Installation: ~2 hours (includes wiring setup)
Q3: What If My SpeedyPro Charger Doesn’t Work?
- No Power? Ensure the breaker is turned on.
- Flashing Red Light? Refer to the manual for error codes.
- Charging Interruption? Check for loose connections or overheating.
Enhancing Your Charging Experience
Additional Accessories
- Cable Organizer: Keep your charging area neat.
- Waterproof Cover: Protect your charger in outdoor installations.
- Extended Cable Option: For more flexible parking setups.
Need a Professional Installation?
Get expert help! Book an Installation Service
Watch the Installation Tutorial:
Last Updated on February 10, 2025 by tayniu