Congratulations on bringing home your new BYD electric vehicle! Setting up convenient and efficient home charging is one of the biggest perks of EV ownership. This guide will walk you through the simple steps to get your BYD home charger up and running safely and correctly.
Step 1: Pre-Installation Essentials
Before you unbox your charger, the most crucial step happens behind the scenes: professional electrical work.
* Consult a Licensed Electrician: Installing a home charging unit requires a dedicated circuit. A qualified electrician will assess your home's electrical panel, recommend the correct amperage (typically 40A or higher for Level 2 charging), and install a suitable outlet (like a NEMA 14-50) or hardwire the unit directly.
* Choose the Perfect Location: Select a spot near where you park, ensuring the charging cable can easily reach your BYD's port. Consider a weatherproof location when installing outdoors, and ensure the area is well-ventilated and free from hazards.
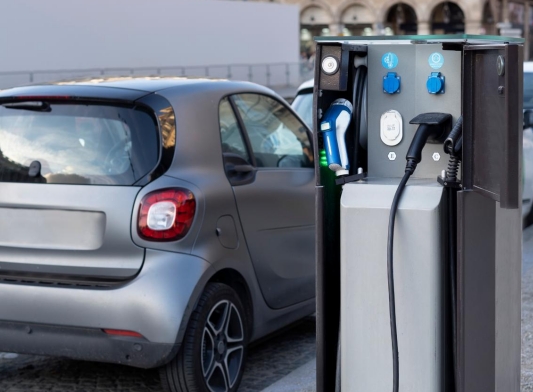
Step 2: Unboxing and Understanding Your BYD Home Charger
Carefully unbox your charging equipment. You will typically find:
* The main charging unit (wallbox).
* The charging cable with a vehicle connector.
* Mounting hardware and a template.
* The user manual—keep this handy!
Familiarize yourself with the unit's features, including the status indicator lights, control buttons, and cable holder. Your specific BYD home charger model is designed for optimal communication with your vehicle, ensuring safe and managed charging.
Step 3: Mounting and Final Connection
Once your electrician has prepared the electrical connection point:
1. Use the provided template to mark the mounting holes on the wall.
2. Securely mount the charging box using the appropriate hardware for your wall type (e.g., concrete anchors, wood screws).
3. Your electrician will then perform the final, safe electrical connection—either by plugging the unit into the installed outlet or by hardwiring it to your home's circuit.
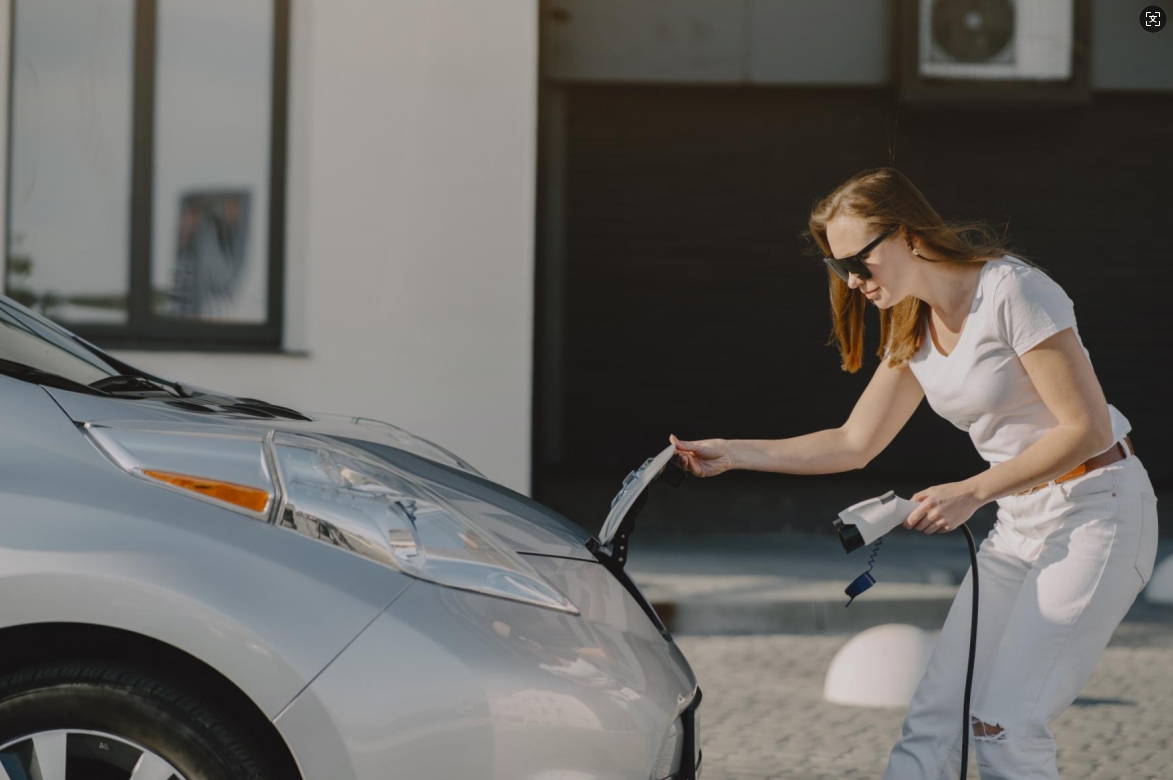
Step 4: Your First Charging Session
With installation complete, you're ready for the exciting moment:
1. Plug into the Vehicle: First, take the connector and firmly insert it into your BYD's charging port. You should hear a click, and the vehicle's charging indicator will light up.
2. Plug into the Source: If your unit is plugged into an outlet, connect it now. For hardwired units, the system becomes active once powered from the electrical panel.
3. Check the Lights: Observe the status lights on both your BYD home charger and your vehicle's dashboard. A solid or pulsing green light typically indicates successful charging initiation.
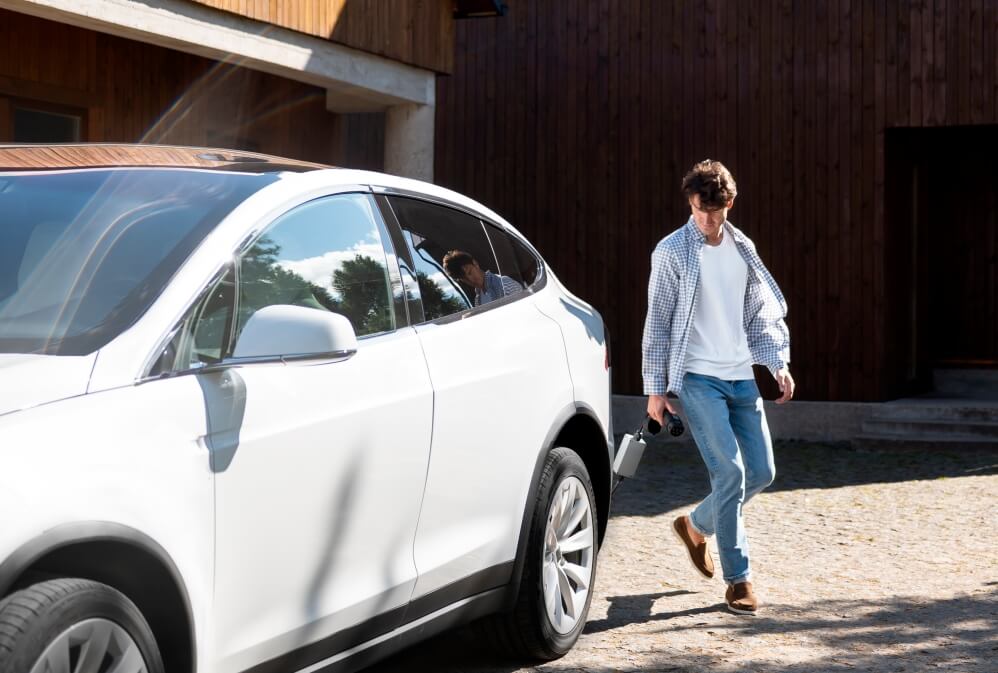
4. You're Set! The vehicle and charger will handle everything else automatically. You can now enjoy waking up every morning to a fully charged car.
Step 5: Smart Features and Best Practices
* Use Your BYD App: Most BYD home chargers can be linked to your vehicle's smartphone app. This allows you to schedule charging for off-peak electricity hours, monitor progress remotely, and set charging limits to benefit long-term battery health.
* Basic Safety: Regularly inspect the cable for damage, avoid using extension cords, and keep the connector clean and dry when not in use.
Setting up your home charger is a straightforward process that pays off daily in sheer convenience. By following these steps and ensuring a professional installation, you’ll unlock the full potential of electric driving, ensuring your BYD is always ready to go whenever you are.
Last Updated on December 31, 2025 by tayniu