Ready to set up your home charging? This practical guide will walk you through the process of getting your personal charging station ready for BYD ATTO 3 charging at home.
Step 1: Choose Your BYD Charger Type
First, decide which solution fits your life:
* Included Portable Charger: Use this if your daily driving is within the range you can replenish overnight from a standard outlet (~8-10 hours for a full charge).
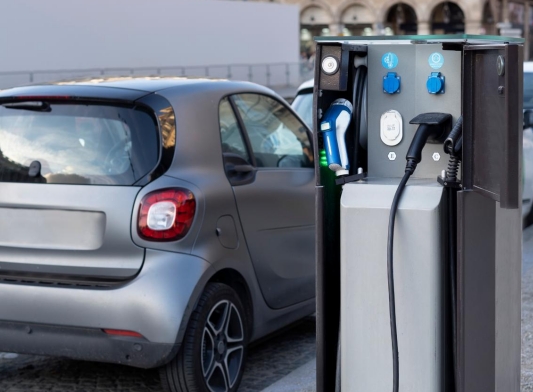
* Wallbox Charger: Purchase this if you need faster charging or want a more permanent, dedicated solution.
Step 2: The Professional Electrical Assessment (Crucial for Wallbox)
This is the most important step for a Wallbox installation. Do not skip this.
* Hire a Certified Electrician: Contact a qualified professional to evaluate your home's electrical capacity.
* Site Survey: The electrician will determine the best location for the Wallbox (near your parking spot) and plan the cable route from your main distribution board.
* Circuit Installation: They will install a new, dedicated circuit with the correct amperage (e.g., 32A) and a residual current circuit breaker for ultimate safety.
Step 3: Mounting and Installation
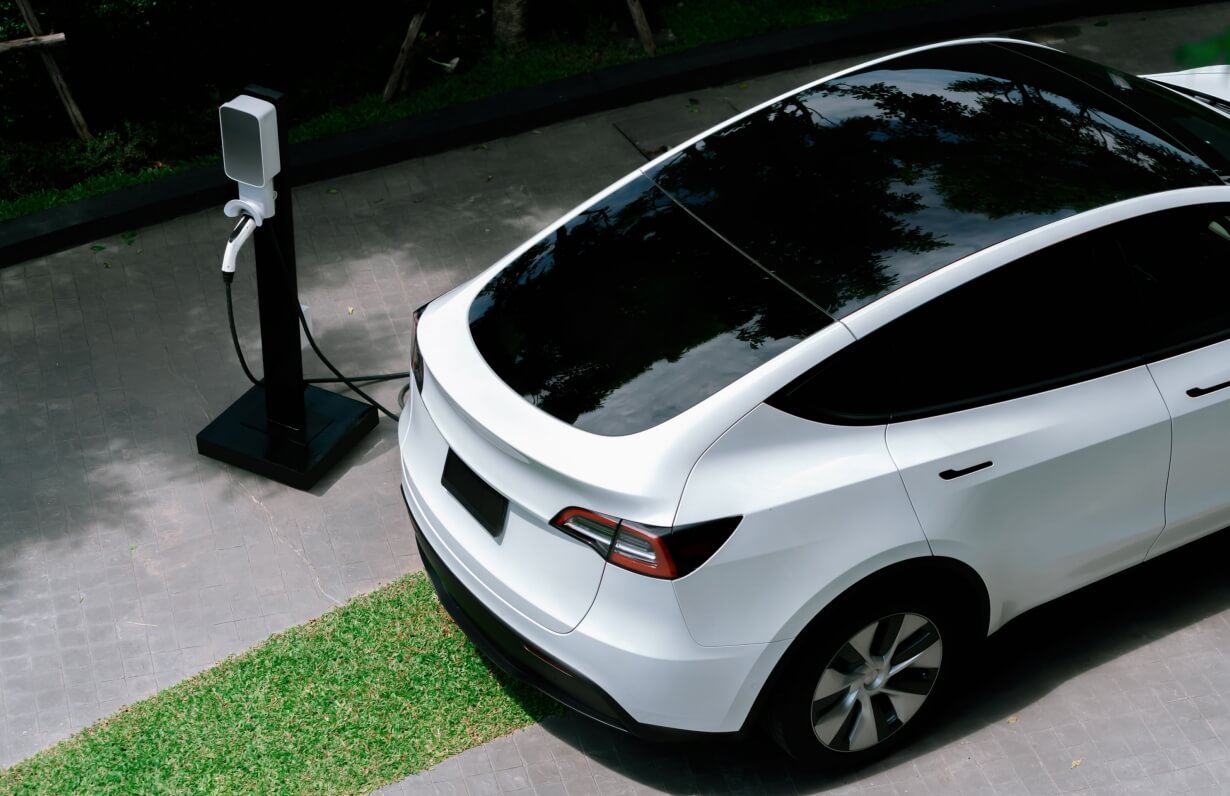
* For the Wallbox, the electrician will securely mount the unit on your wall and connect it to the new dedicated circuit.
* For the portable BYD charger type, simply ensure your chosen outlet is in good condition, properly grounded, and not shared with other high-power appliances.
Step 4: Your First Charge – The Moment of Truth
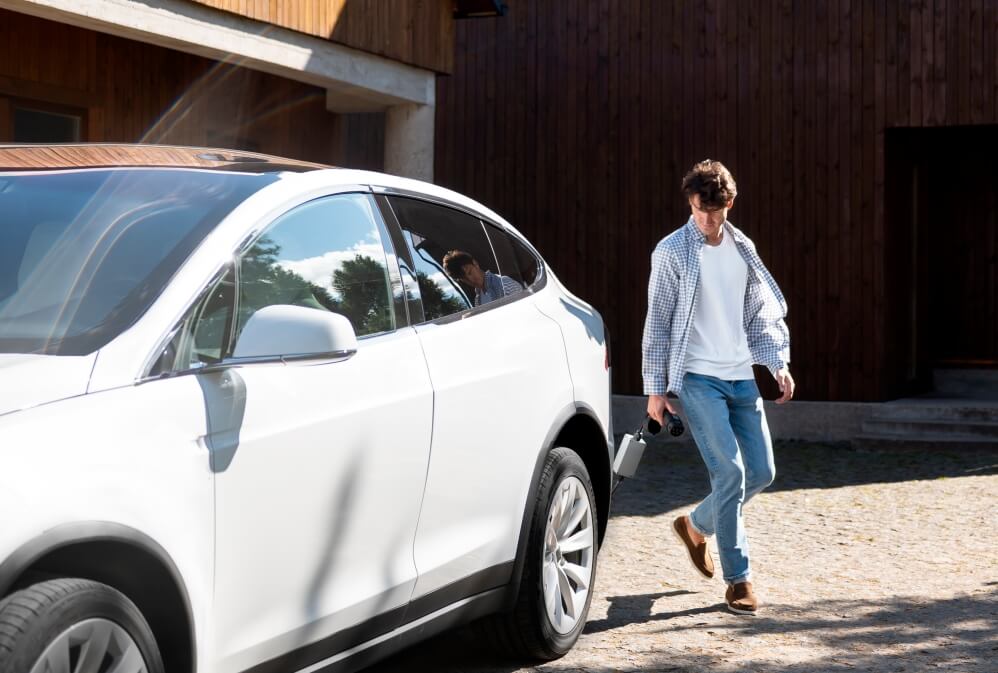
* For a Wallbox: Simply take the attached BYD charging cable, connect it to your car's port, and the charging will begin automatically.
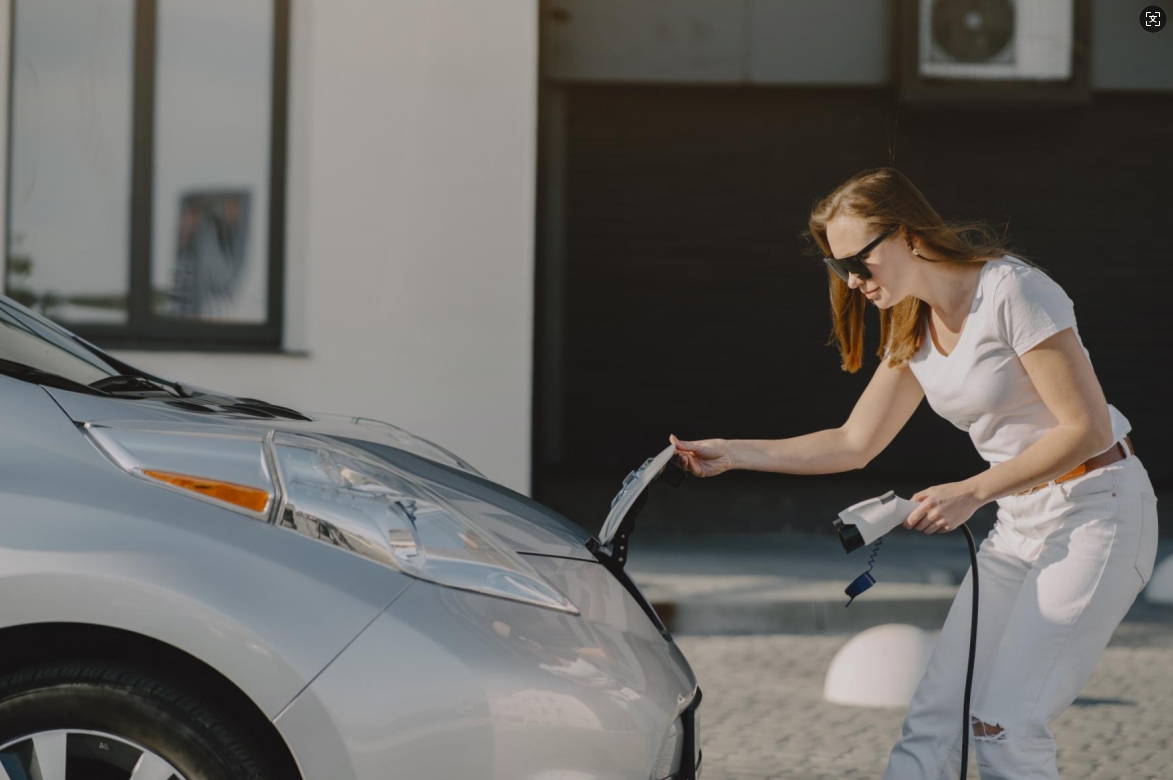
* For the Portable Charger: Plug the device into the outlet first, then connect the BYD charging cable to your vehicle.
Now, experience the ultimate convenience: plug in when you get home, and wake up to a car that’s always ready to go. BYD ATTO 3 charging at home is straightforward once the initial setup is complete.
Last Updated on September 16, 2025 by tayniu